


Great


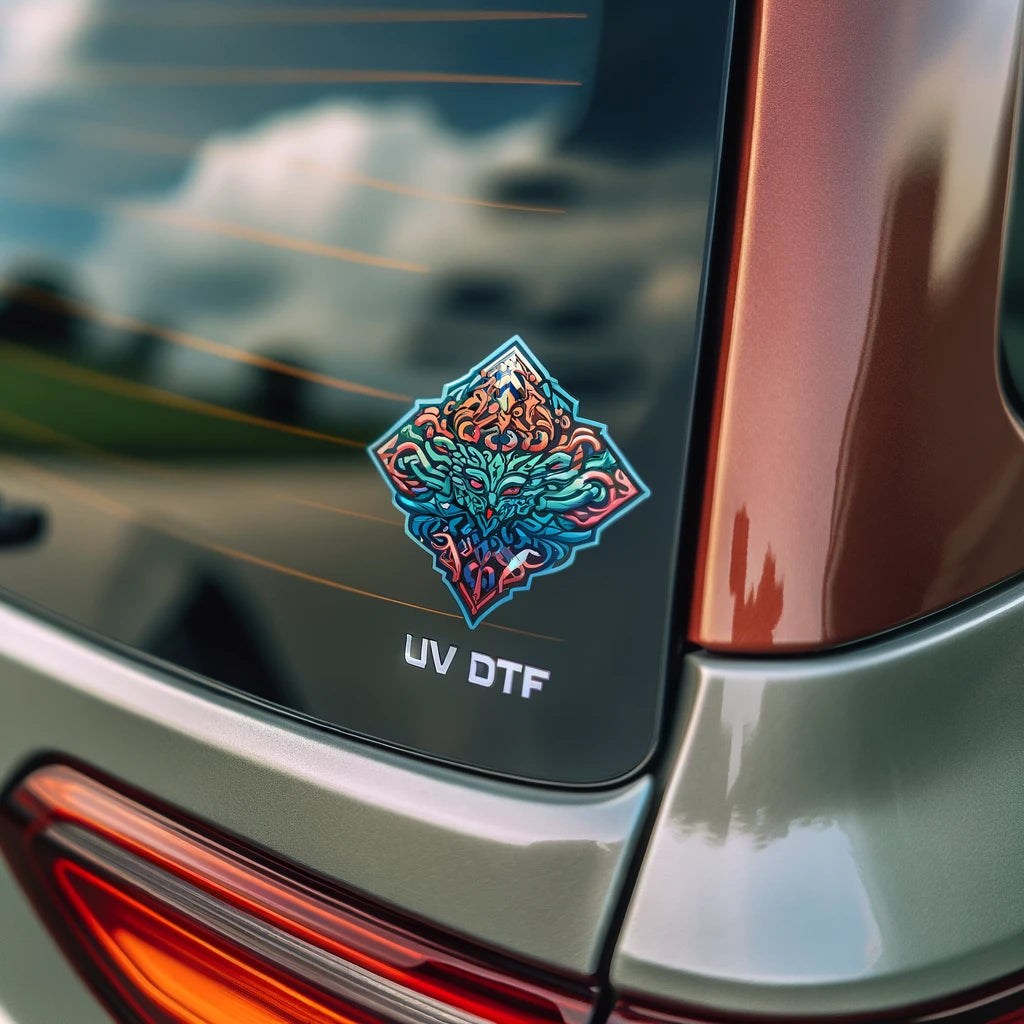
UV DTF · HOW TO APPLY
No heat press needed
A clean surface, careful placement, and firm pressure make the difference. Take your time with the details.
Wipe away dust, oils, and moisture. Let the surface dry completely before applying your transfer.
Use a cleaner that is suitable for your item’s finish. Avoid touching the cleaned area with your fingers before application.
Keep the clear carrier in place as you remove the backing. Position the adhesive side carefully on your item.
Check alignment before the adhesive touches the surface. Support round items so they stay steady while you position the transfer.
Use a squeegee or rigid card to apply firm pressure. Work outward across the entire design, including the edges.
Give small lettering and fine lines extra attention. Support the item and rub evenly rather than rushing across the carrier.
Peel the clear carrier back at a low angle. If an edge lifts, lay the carrier back down and rub that area again.
Keep the peel slow and close to the surface. Stop if any part of the design lifts; press it back down before continuing.
UV DTF · SURFACE GUIDE
Give everyday objects a custom finish. UV DTF works best when the adhesive can make full contact with a clean, smooth, non-porous surface.
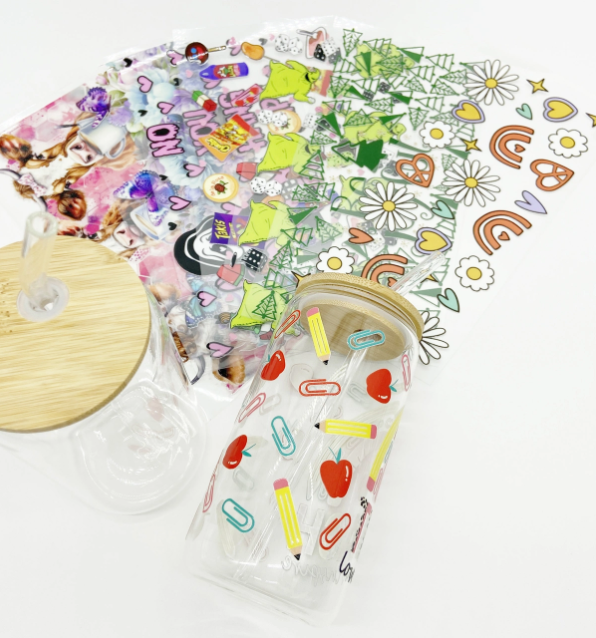
Think glass cups, jars, acrylic signs, and keychains. Choose smooth areas, remove dust and residue, and let the surface dry before applying.
Great places to start include compatible coated bottles, tumblers, and metal signs. A smooth finish matters; textured or soft-touch coatings need extra testing.
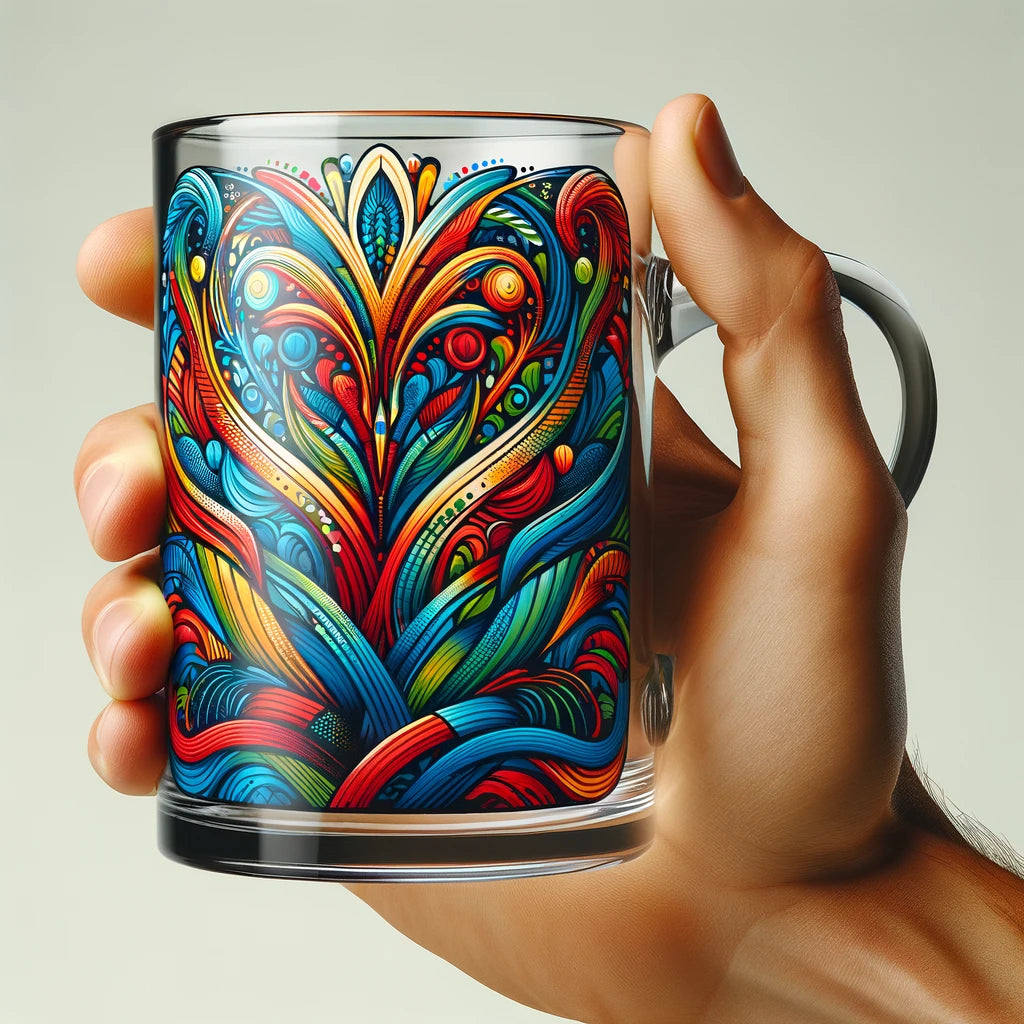
Use smooth, glazed mug exteriors and decorative ceramic pieces. Keep designs away from drinking rims, food-contact areas, and rough unglazed sections.
Try compatible hard cases, storage containers, and display pieces. Plastic types and coatings vary, so test adhesion first. Flexible silicone needs another decorating method.
Consider fully sealed, smooth decorative signs and plaques. The transfer adheres to the finish, so test that coating. Skip bare grain, porous areas, or flaking paint.
Coatings and textures vary. Test one item before committing to a full production run.
 MADE FOR HARD SURFACES
DTFOrder / File preparation
A clean file is the first step to a sharp transfer. Review these requirements before submitting your UV DTF gang sheet.
| What to check | How to prepare your artwork |
|---|---|
| Sheet width | 22 inches wide. Set your finished gang-sheet canvas to this width. |
| Sheet length | Match the canvas length to the sheet size selected for your order.
View sheet sizes22x10 Inches22x20 Inches22x30 Inches22x40 Inches22x50 Inches22x60 Inches22x80 Inches22x100 Inches22x120 Inches22x180 Inches22x200 Inches22x240 Inches
Choose your size using the product selector when ordering. |
| Resolution | 300 DPI at your final print size. Enlarging a small image does not restore missing detail. |
| File format | Transparent PNG is recommended. Need to use another format? Ask our team before submitting. |
| Background | Keep areas outside your design transparent. Only include a solid background when you want it printed. |
| Details & edges | Use clean, solid edges. Remove stray pixels and soft shadows. Strengthen thin lines and avoid tiny disconnected pieces. |
| Size & layout | Arrange designs at their intended print dimensions. Leave room to cut between designs, and confirm spelling, quantities and placement in your final sheet. |
| Orientation | DO NOT MIRROR YOUR ARTWORK. Submit designs in their normal reading direction. |
DTFOrder / UV gang sheets
Find the right ordering option, prepare clean artwork, and get your stickers onto the right surface.
Layout & ordering
A single sheet containing the sticker designs you arrange in the builder. UV DTF transfers your artwork onto compatible hard items using adhesive and pressure, giving you a custom finish without a heat press.
The size refers to your complete gang sheet. For example, 22 × 60 inches gives you a sheet 22 inches wide and 60 inches long. Set each design to its finished size within that layout.
Yes. Combine different logos, duplicate a design, or arrange artwork in several sizes within your chosen sheet. Review the layout to make sure each design has the right dimensions and placement.
Use our UV DTF Gang Sheet Upload option to send your finished layout. Use this builder when you want to upload individual designs and arrange the sheet online.
Files & print details
Use sharp artwork at its intended print size. A transparent PNG at 300 DPI is a good starting point. Remove unwanted backgrounds, stray pixels, and soft shadows; white areas you deliberately include are part of the design. Check the builder for supported formats.
No. Upload artwork in the direction you want it to read on the finished item. Keep lettering and logos facing normally.
Review your artwork at its intended print size. Fine details need careful rubbing and peeling during application. For help checking a design, contact our team before ordering.
Surfaces & everyday care
Choose smooth glass, glazed ceramic, acrylic, suitable metal, or compatible rigid plastic. Test unfamiliar finishes first. Avoid fabric, silicone, rubber, and rough or porous surfaces.
For garments, use our apparel DTF transfers. UV stickers are intended for hard items, such as cups, jars, and signs.
Clean and dry the surface. Rub the transfer, remove its backing, position it, and press firmly. Peel the clear carrier back slowly. Follow our full UV application guide.
Hand wash gently with mild soap and a soft sponge. Avoid dishwashers, microwaves, soaking, and abrasive scrubbing. Keep the item dry for at least 24 hours after application unless your order includes different directions.
Overall rating: 5.0 / 5 from 58 reviews.
Great

Amazing print but turned out to be too big

Great

The prints from this shop is always amazing!

These UV stickers were absolutely great! Love their service here!

Product came out great I will definitely be ordering again.

Cuteee

Great print

The thing I love the most about this store is the fast turnaround time. Also, if something is wrong with the order when I go to collect it, they are so prompt about reprinting a new one while I am waiting!

It was easy to place the order. Pick up was smooth. Most importantly it was beautiful and the quality was great. I am a repeat customer

Cute

Cute

Great

Very good quality DTF .

Great

10/10!!

Cute

Cute

Super fast delivery and good quality product

Worked better the sublimation

Printing was extremely fast. My original order was shipped but never arrived, so I reached out to the company. They immediately reprinted and reshipped the order with no issues. The product matched my submitted artwork perfectly. This was my first time using the transfers and UV DTF Stickers. The first shirt I pressed didn’t come out quite right—completely my mistake. I went back and followed the instructions on the website exactly for the next one, and it turned out perfect. The stickers were perfect for our intentions. They went on easily and smoothly. Overall, great experience!

Looks great. Received delivery the next day.

Fast and great and supper sticky

Prints are always good and fast

Beautiful DTF

Love it

Always gets the job done

Was great! The customers loved the products

The quality of the products that I purchase from DTF Order are always of great

Great quality & fast service

L

Quality of the decals are always awesome and easy to use. I will be ordering again.

Great product and shipping was with a fast turnaround time

I had our whole team going crazy for these

Love it!

I just love it! It is so easy to work with

Absolutely beautiful and easy to apply.
Great customer service/ communication
Great work!
Great product