
DTFORDER / APPLICATION GUIDE
HOW TO PRESS.
HOW TO APPLY.
Your guide to pressing DTF transfers on apparel and applying UV DTF stickers to hard surfaces. Find your method, follow the steps, and give your design a clean finish.
DTF transfers → FabricApply with heat and pressure. Peel according to your film type.
UV DTF stickers → Hard surfacesClean, position, rub and peel. No heat press needed.
How to press DTF transfers
For heat-compatible shirts, hoodies, tote bags and other fabric items.
Standard DTF: quick press settings
Our published hot-peel range is 315–325°F (157–163°C). At 320°F (160°C), start with 6–7 seconds within the 6–10-second range. Follow any different directions included with your specific transfer.
| Film type | First press | When to peel | Finish |
|---|---|---|---|
| Hot peel | 320°F / 160°C 6–10 seconds · medium pressure | Immediately after opening the press. | Protect the exposed print with a suitable finishing sheet; press 6 seconds. |
| Cold peel | 320°F / 160°C 15 seconds · medium pressure | Wait until the transfer is completely cool, then peel. | Protect the exposed print with a suitable finishing sheet; press 6 seconds. |
Hot and cold peel describe the film you received. Use its required peel timing rather than choosing a peel method at random.
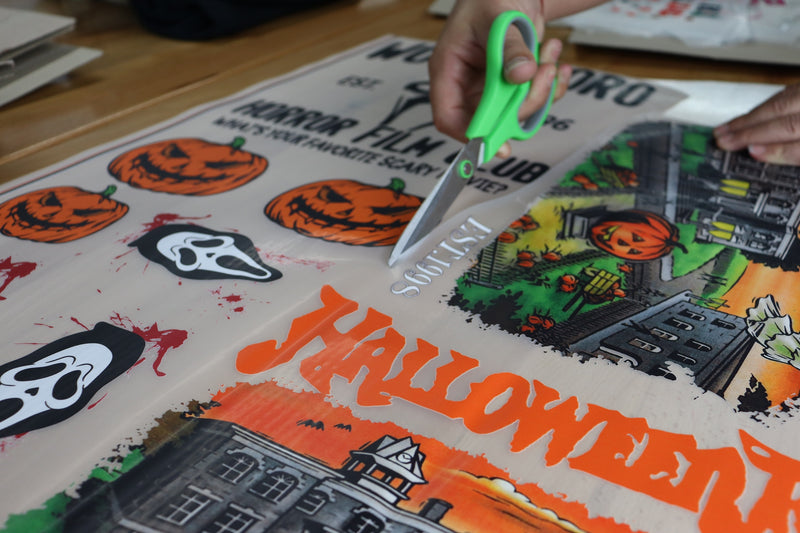
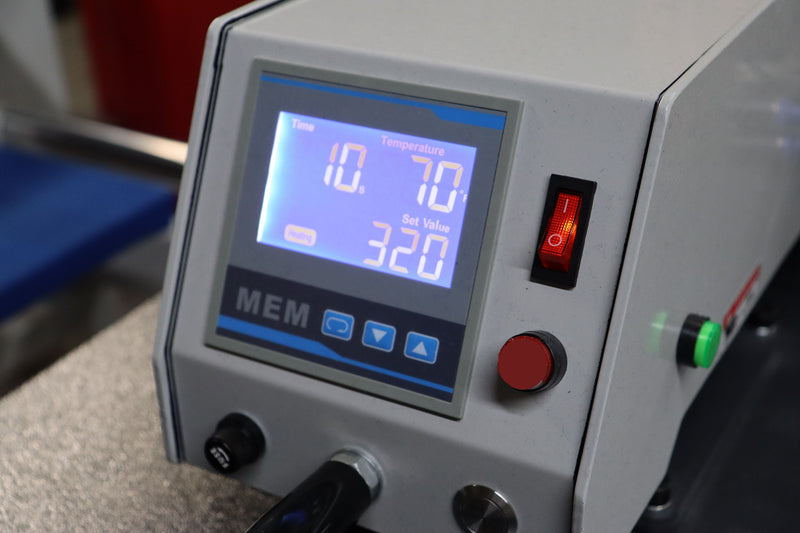
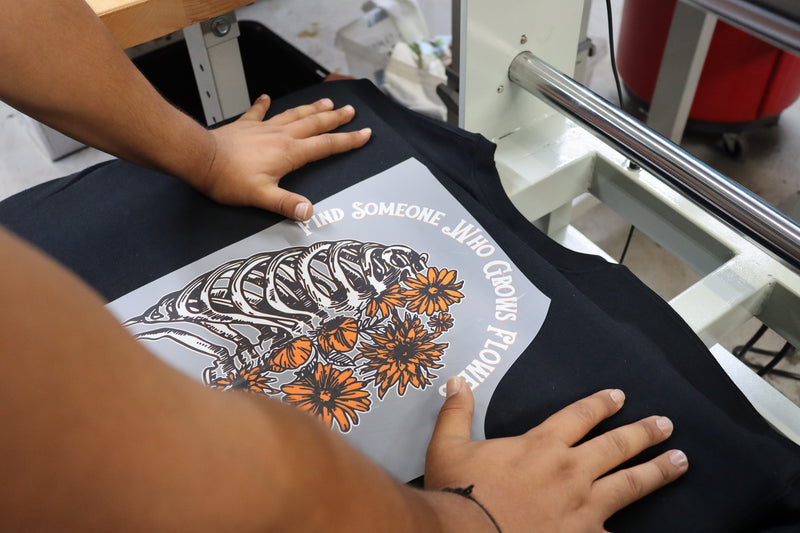
Prepare the garment and press
Let the press reach its set temperature. Lay the garment flat, remove lint and briefly pre-press to release moisture and flatten wrinkles. Keep thick seams, collars and zippers outside the print area so the platen closes evenly.
Position the transfer
Place the adhesive side against the fabric, with the carrier film on top. Align the design before closing the press. Use heat-resistant tape if needed to prevent shifting.
Press for your film type
Use the settings above: 6–10 seconds for hot peel or 15 seconds for cold peel, with medium, even pressure. Heat-sensitive fabrics and specialty finishes may require different settings; test before production.
Peel at the correct time
For hot-peel film, peel immediately. For cold-peel film, wait until completely cool. Pull smoothly, keeping the film close to the garment. If the artwork lifts, stop peeling and check your settings before continuing.
Finish the print
After removing the carrier, cover the exposed artwork with a heat-safe finishing sheet and press for another 6 seconds. This helps secure the transfer and can soften the surface gloss. Do not place the bare platen directly on exposed ink.
Cool and inspect
Let the garment cool flat before stretching, folding or packing it. Check small details and edges for adhesion. Set aside any problem piece for troubleshooting, and allow at least 24 hours before the first wash.
Using a Cricut EasyPress?
Use a firm, heat-safe surface and a suitable pressing mat. Keep the plate flat and apply steady pressure throughout the press.
The chart above is a heat-press reference. Hand-applied pressure can differ, so test your transfer and garment first. Use DTFOrder’s transfer instructions rather than settings for an unrelated iron-on material.
Using a household iron?
A heat press gives more consistent control. If you use an iron, turn steam off, use a firm heat-safe surface and protect the transfer with a suitable sheet.
Iron dials and steam holes make heat and pressure less predictable. Do not assume a “cotton” setting equals 320°F or copy the short machine-press timing. Contact us for guidance for your transfer and test a spare first.
How to apply UV DTF stickers
For smooth, hard surfaces such as glass, glazed ceramic, acrylic and suitable metal or rigid plastic.
No heat press.
No weeding. No water bath.
UV stickers transfer your design onto the item using adhesive and firm pressure. The clear carrier holds the artwork in position while you apply it, then peels away.
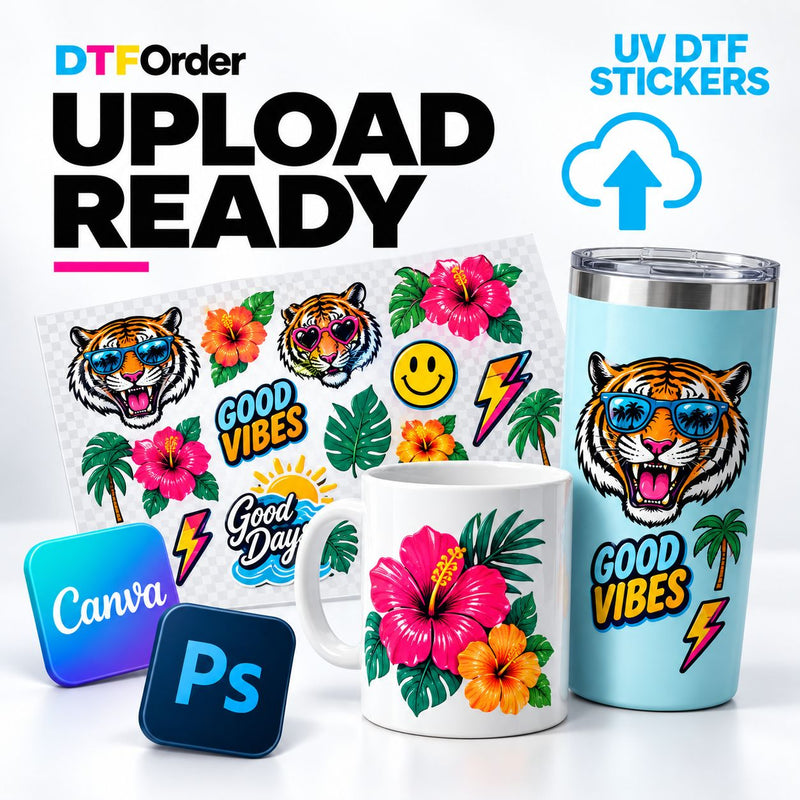
Clean the surface and let it dry
Remove dust, fingerprints, oils and residue. Use mild soap and water, rinse, and dry completely; an alcohol wipe is another option if the item’s finish allows it. Check the blank manufacturer’s cleaning guidance for acrylic and coated surfaces. Keep the cleaned area free of fingerprints.
Trim and rub the transfer first
Cut around the design, leaving a little clear film to hold. Keep both layers together and firmly rub across the transfer with your squeegee. Pay extra attention to small letters and separate design pieces so they lift together onto the clear carrier.
Remove the backing slowly
Peel away the backing liner while keeping the printed design on the clear carrier. Avoid touching the exposed adhesive. If a detail stays on the backing, lay the film back down, rub that area again and retry slowly.
Align, then apply gradually
Check the design’s position and orientation before contact. On cups or larger designs, anchor one edge and gradually lay the rest down. Work in small sections around curves; do not stretch the film or drop the whole wrap onto the cup at once.
Rub firmly over every detail
With the clear carrier still on, smooth the design from its center toward the edges. Make several firm passes with your squeegee or card to push out air. Carefully work over lettering, fine lines and corners.
Peel the clear carrier
Peel slowly at a low angle, folding the film back close to the surface. Watch that every part of the artwork stays on the item. If an edge lifts, stop, lay the film back down and rub again before continuing.
Inspect and allow time to bond
Check for loose edges before setting the item aside. As a general care precaution, leave it dry for at least 24 hours before washing or heavy handling, unless your order includes a different wait time. Then follow the hand-wash guidance below.
Choose the right surface
- Good starting points: smooth glass, glazed ceramic, acrylic, smooth metal and compatible rigid plastics.
- Test first: painted or powder-coated items, curved surfaces and unfamiliar plastics.
- Avoid: fabric, silicone, rubber, rough unfinished wood and heavily textured or porous surfaces.
Applying a full cup wrap?
Check the cup’s circumference and usable height with the backing still on. Keep the design away from the drinking rim and interior.
Apply a little at a time around the cup and smooth each section before moving on. Tapered cups need artwork that fits their shape; forcing a rectangular wrap can create wrinkles or overlap.
Keep your design looking good
Apparel and decorated hard goods need different care routines.
Wash gently. Dry with care.
- Wait at least 24 hours before the first wash.
- Turn the garment inside out; wash cold with mild detergent.
- Avoid bleach and fabric softener.
- Hang dry, or tumble dry low if the garment label allows it.
- Do not iron directly over the design.
Hand wash only.
- Allow at least 24 hours before the first wash unless directed otherwise.
- Wash gently with mild soap and a soft sponge.
- Keep decorated items out of the dishwasher and microwave.
- Avoid soaking, abrasive scrubbers and picking at the edges.
- Keep decoration outside drinkware, away from food-contact areas.
Something not sticking?
Pause and check the cause before adding more heat or pulling harder.
The DTF artwork lifts when I peel the film.
Check that you are using the correct hot- or cold-peel timing. Lay the carrier back down, then check the press temperature, pressure and contact around seams. A brief corrective press may help an under-applied transfer; test cautiously and stay within the garment’s heat limits. Repeated pressing can damage sensitive fabric.
My shirt has a press mark, scorching or color bleeding.
Stop and let the garment cool. Excess heat or pressure can mark fabric, and some dyed polyester can bleed into a print. Do not keep raising the temperature. Confirm the garment’s suitability and ask us about appropriate settings before pressing more pieces.
Small UV details stay on the backing.
Put the layers back together and rub firmly over those details. Peel again slowly from another corner while watching each piece. Avoid stretching the clear film or touching the adhesive.
The UV sticker lifts with the clear carrier.
Lay the carrier back over the lifting area and rub firmly again, especially at edges. Peel slowly with the film folded back close to the surface. If it still lifts, check for moisture, cleaner residue, texture or an incompatible coating. More pressure cannot make every surface compatible.
I have bubbles or wrinkles in my UV cup wrap.
While the carrier is still attached, smooth from the center toward the nearest edge and work in small sections around the curve. Do not stretch the film or repeatedly lift the bonded artwork. If the decal has already creased or trapped dirt, it may need replacement; check the cup’s taper and wrap size before trying again.
Can I reposition a UV sticker after it touches the item?
Treat the first placement as permanent. Trying to lift and move a bonded design can stretch it, leave adhesive behind or damage a coating. Dry-fit the transfer with its backing on before applying it.
Do glitter, glow and other specialty transfers use these settings?
Use the instructions for that specific product. Specialty finishes may need different heat, timing, pressure, peeling or finishing steps. If your order does not identify the settings, contact us with your order number before pressing.